Claude
How to build a website with Claude Code using AI-ready templates

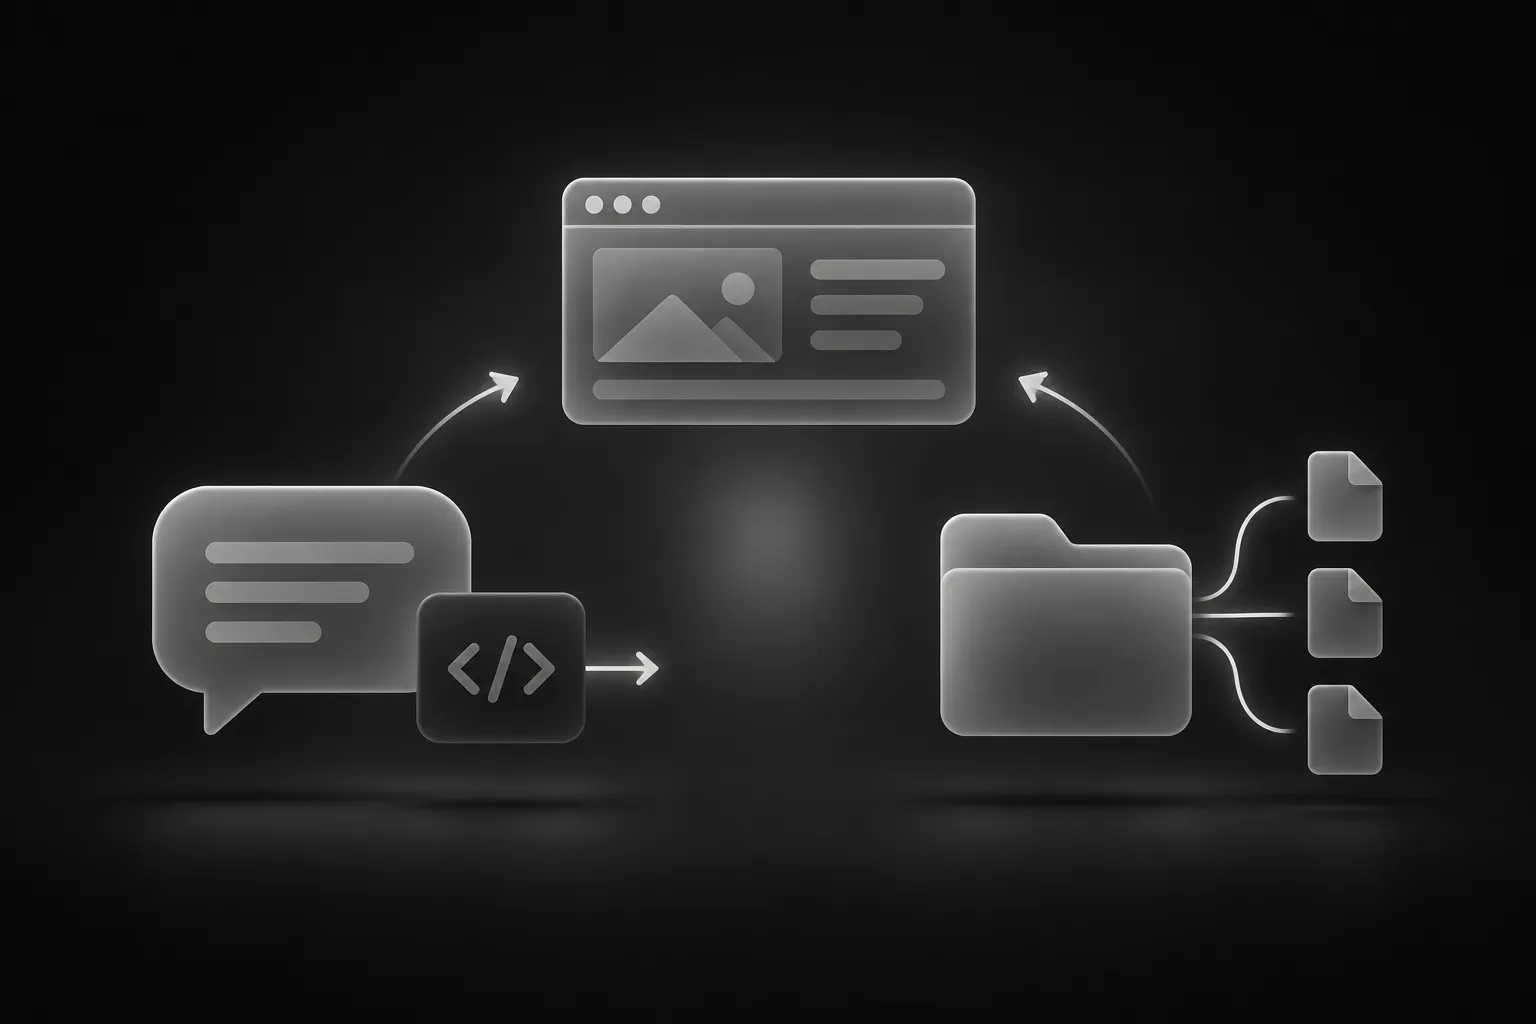
Most people use Claude as a chat window: you ask for code, copy it, and paste it somewhere. Claude Code works differently. You point it at a project folder, and it reads the files, edits them and runs commands on your machine. For building a website, that difference matters a lot, because a website is many files that have to stay consistent with each other.
This guide walks through a workflow that works well for non-developers and developers alike: start from an AI-ready Astro template, give Claude Code the context it needs, and change the site one section at a time.
What you need
- A template or an existing project. Every Weblisy template is an Astro project, so it opens as a normal folder.
- Claude Code installed, following Anthropic’s current instructions for your system. Menus and commands change often, so use their latest setup guide rather than an old tutorial.
- A recent version of Node.js, so the site can run on your computer.
If you do not have a template yet, the Michael template and a selection of component prompts are free, which is enough to try the whole workflow.
Step 1: Pick your starting point
There are two good ways to begin, and they lead to different first messages.
Start from a template when you want a complete site quickly. You get a finished design, and your job is to replace the content, images and brand details. This is the faster path for portfolios, agency sites and landing pages.
Start from component prompts when you already have a project, or when you want to design a page section by section. Each component prompt describes one section in detail, so you can add exactly the blocks you need. We cover how to get the most out of them in How to Write AI Prompts That Build Better Websites.
Step 2: Open the folder and run it
Unzip the template, open a terminal in the folder, and start Claude Code there. Because Claude Code works inside the folder, it can see the structure before you ask for anything.
Start with a read-only request:
Read this project and explain how it is organized. List the pages, the main components and where the text and images live. Do not change anything yet.This does two things. It shows you whether Claude understood the project, and it puts the structure into the session, so later requests are more accurate.
Then ask it to run the site:
Install the dependencies and start the dev server. Tell me the local address when it is ready.Open that address in your browser and keep the tab visible. Throughout the project, your browser is the source of truth: Claude Code edits files, but you judge the result by looking at the page.
Step 3: Write a CLAUDE.md
Claude Code reads a file called CLAUDE.md in your project root at the start of each session. Use it for facts you would otherwise repeat in every message: your brand, your rules and the things Claude should never touch.
A short, useful example:
# Project notes

- This is a website for a small bakery called Rye & Co.
- Keep the existing fonts and spacing scale. Do not add CSS frameworks.
- Keep every link as a placeholder (#) until I provide real URLs.
- Write in plain, friendly English. No marketing buzzwords.
- Run the build after each change and fix any errors before finishing.
Keep it short. A long file full of rules dilutes the ones that matter. If Claude keeps making the same mistake, add one line to this file instead of correcting it again in chat.
Step 4: Change one thing at a time
The most common reason an AI-built site ends up messy is a request that is too large, such as “make this a website for my bakery.” Claude will do something, but it will touch many files and you will not be able to tell what changed.
Work in small, reviewable steps instead:
- Text first. “Replace the hero headline and description with copy for a neighborhood bakery. Keep the same length so the layout does not shift.”
- Images next. “Swap the hero image for this URL and keep the same crop.”
- Structure last. “Remove the pricing section and move the FAQ up under the hero.”
After each step, look at the browser. If something is wrong, describe it exactly: “the cards touch each other on mobile” works better than “fix the layout.”
Step 5: Add new sections with component prompts
Once the base is solid, you can add sections that the template does not include. Copy a prompt from the component catalog and give it to Claude Code with context:
Add the section described below to the home page, after the hero. Match the fonts and colors already used in this project, keep every link as a placeholder (#), and do not change any other page.

[Paste the component prompt here]
Two details make this work. First, you tell Claude where the section goes, so it does not guess. Second, you tell it to match the existing styles, so the new block does not look like it came from a different site.
Results can differ between sessions and models, so compare the new section with the live preview of the component and describe any difference you see.
Common mistakes
- Letting one session run too long. After many requests, the session fills with old code and instructions. Start a fresh session for each large piece of work. Your
CLAUDE.mdcarries the important rules over. - Skipping the browser check. Claude can tell you a change worked when the page still looks wrong. Always look.
- Making several changes in one request. If something breaks, you cannot tell which change caused it.
- Not using version control. Commit after each working step. If a later change goes wrong, you can go back in seconds.
- Pasting secrets. Keep API keys and passwords out of prompts and out of files you share.
When Claude Code is not the right fit
Claude Code is a strong choice when you are comfortable working in a project folder and want the AI to do the editing. If you prefer to review every change as a visual diff inside an editor, Cursor may feel more natural. If you only want one section and are happy to copy code yourself, a regular chat is enough. Our comparison of the best AI tools for building websites explains how to choose.
Go further
Subscribers can also connect Weblisy to Claude through MCP, so Claude can search components and read their prompts and code without you copying anything. For the shortest path from this guide to a working site, see the Claude page, which collects the setup steps, a starter prompt and answers to common questions in one place.